How to bulk resize images on MacOS with Automator
Today I want show a simple solution to resize images to save disk space. All you need is a computer with MacOS and the images to resize.
N.b. the labels on the following pictures are in German. In the text I put the English names.
Create a service in the Automator App
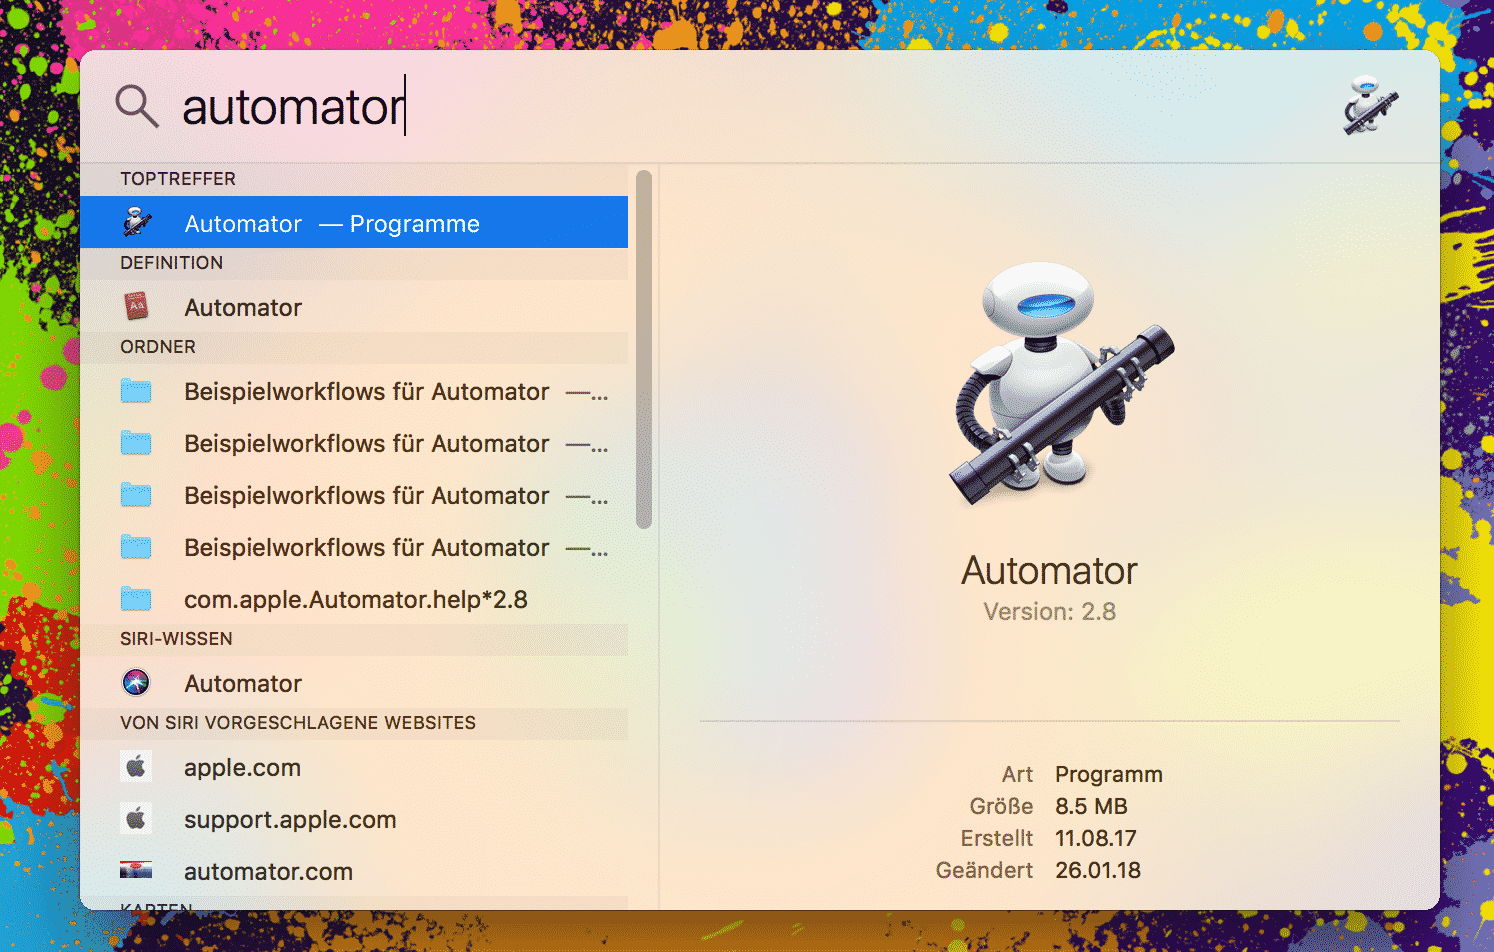
The first step is to start the Automator App (search it with cmd + space) and create a new document:
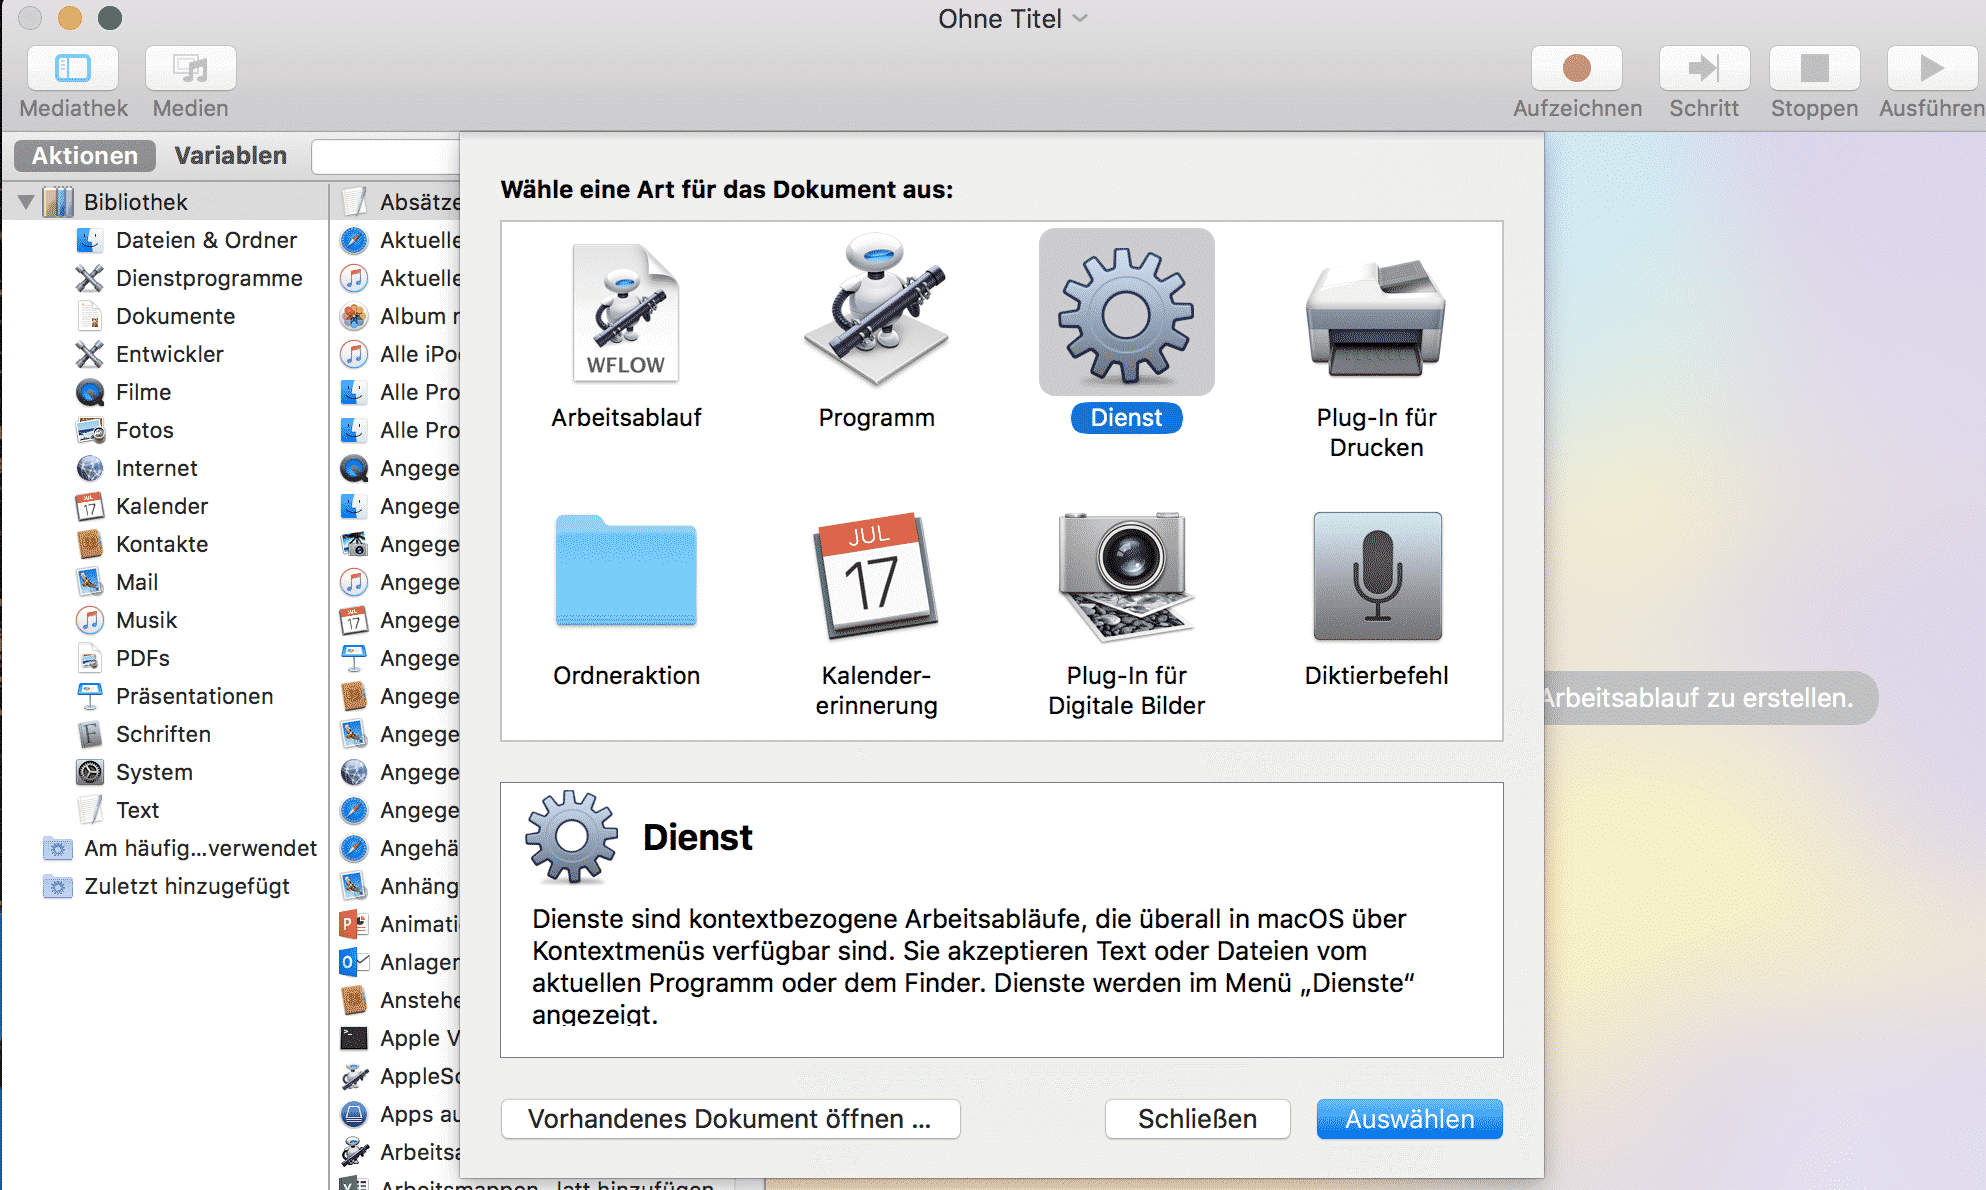
Now select “Service“:
In the first step in the automation process change at “Service receives selected” the “Image Files” option:

Now, on the left side, choose “Files and Folders” then “Get Specified Finder Items” and drag it to the right side:

As the same way add “Photos” -> “Scale Images” as another step in the workflow:
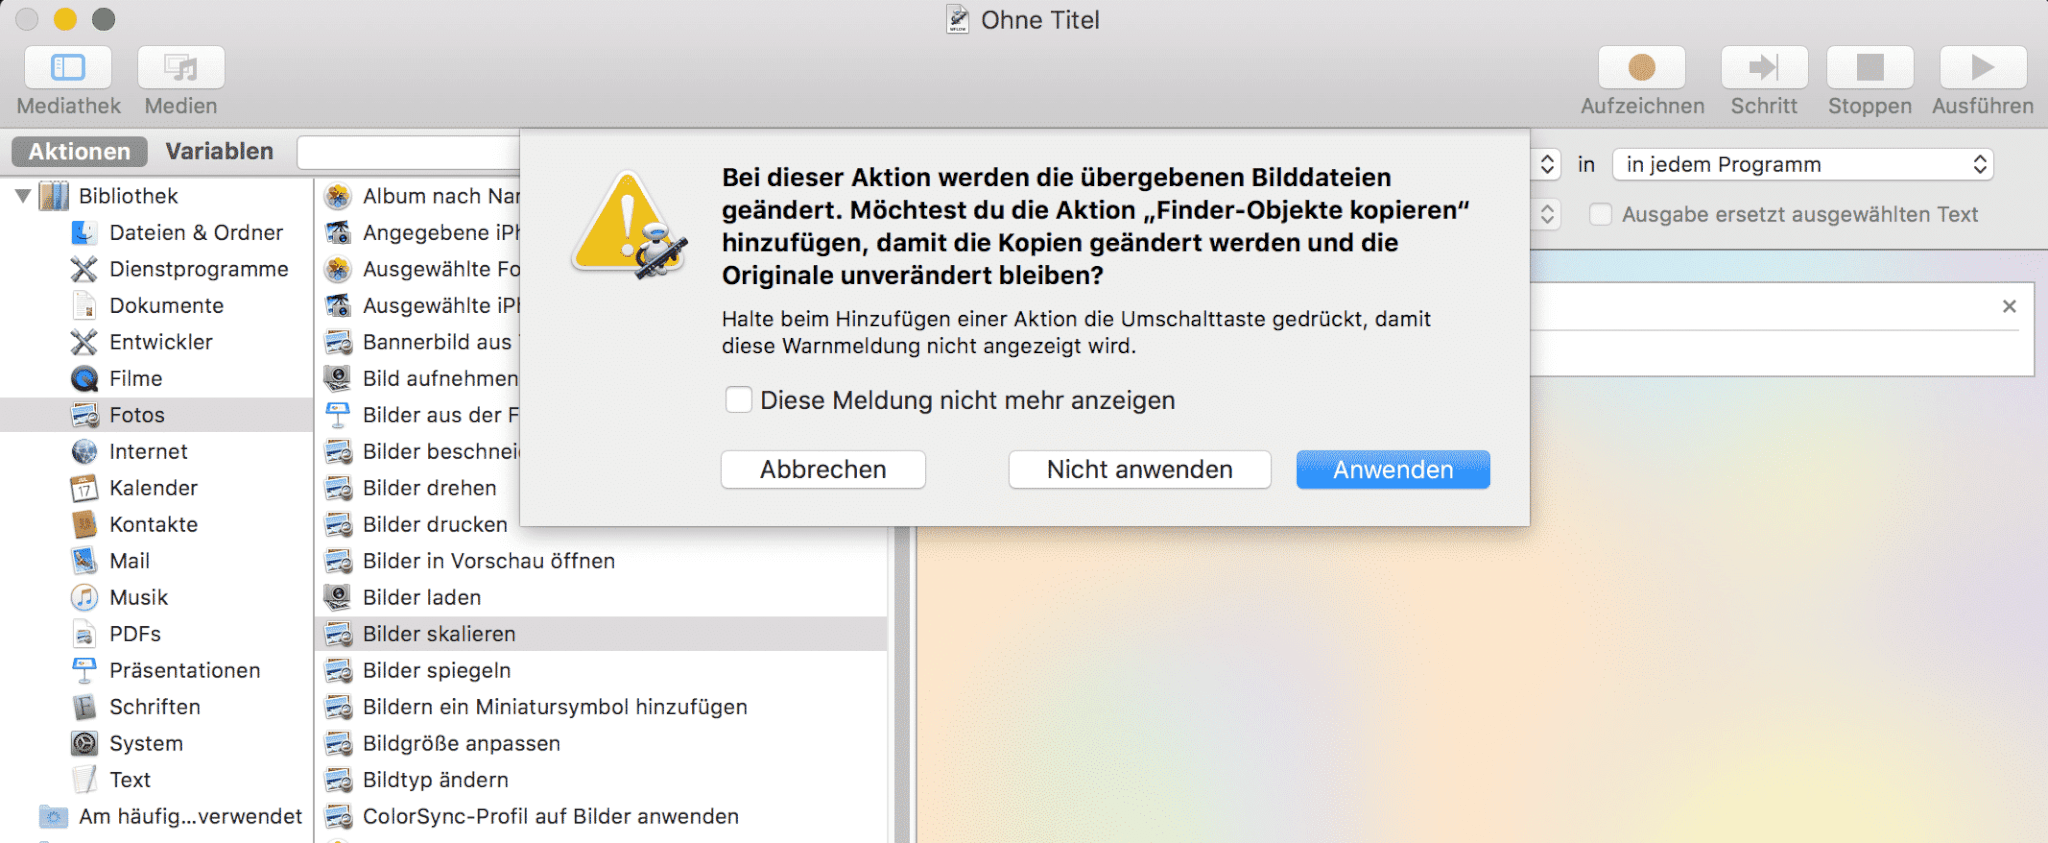
If you want to overwrite the original picture select “Don’t Add“. If you want to copy the original picture, select “Add” to create a copy before to resize it. I selected “Don’t Add“:
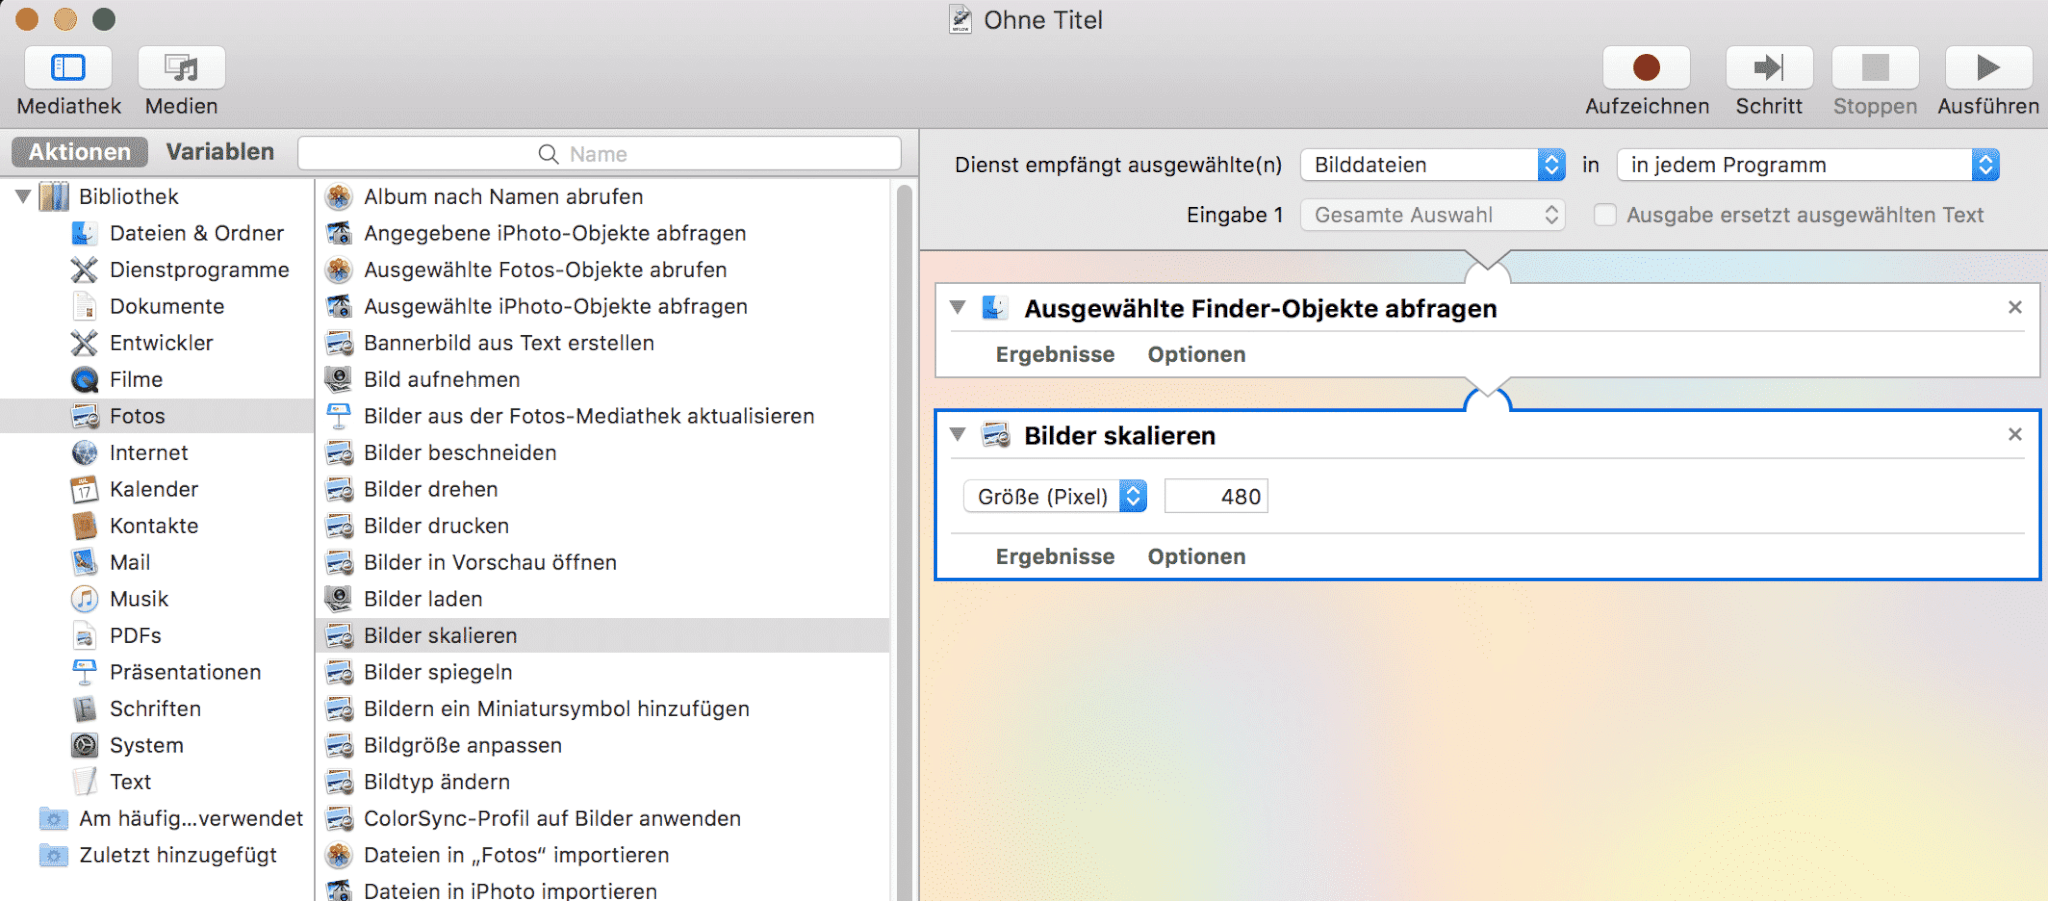
Change the desideret output resolution. I set it to 1920 px. This is a Full HD resolution:

Now save it:
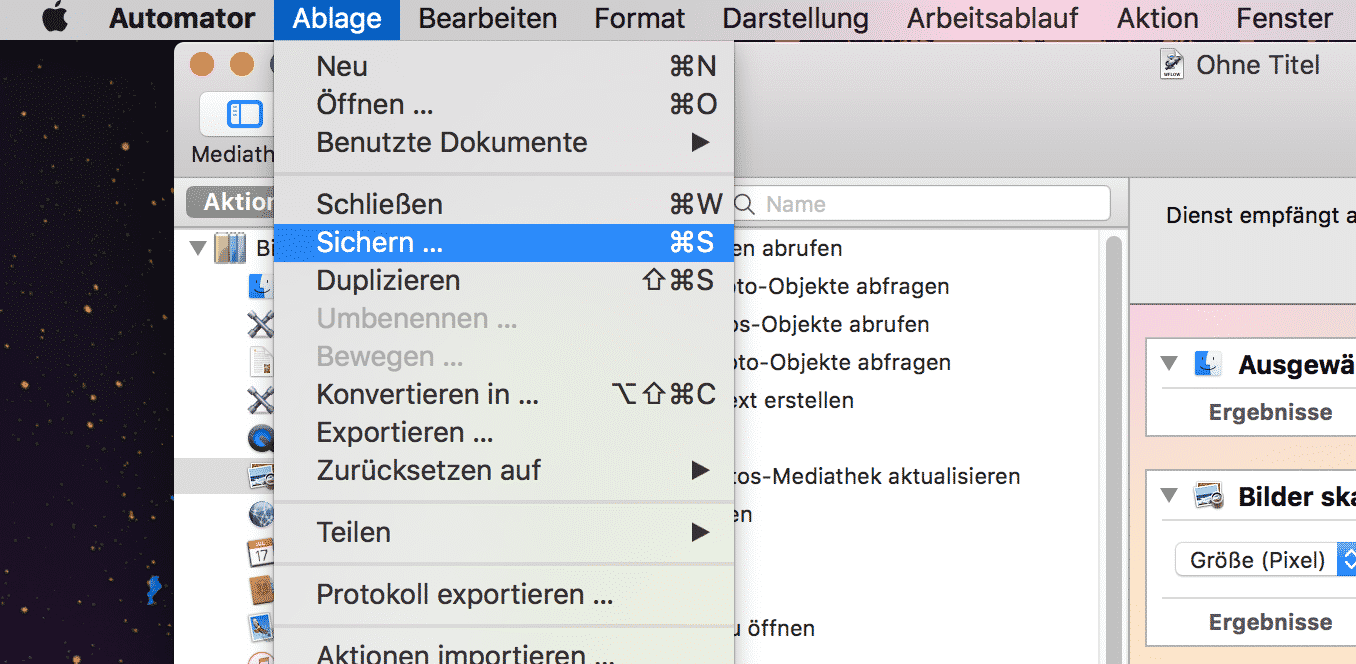
And give a name like:

Test it with a single image and a lot of images
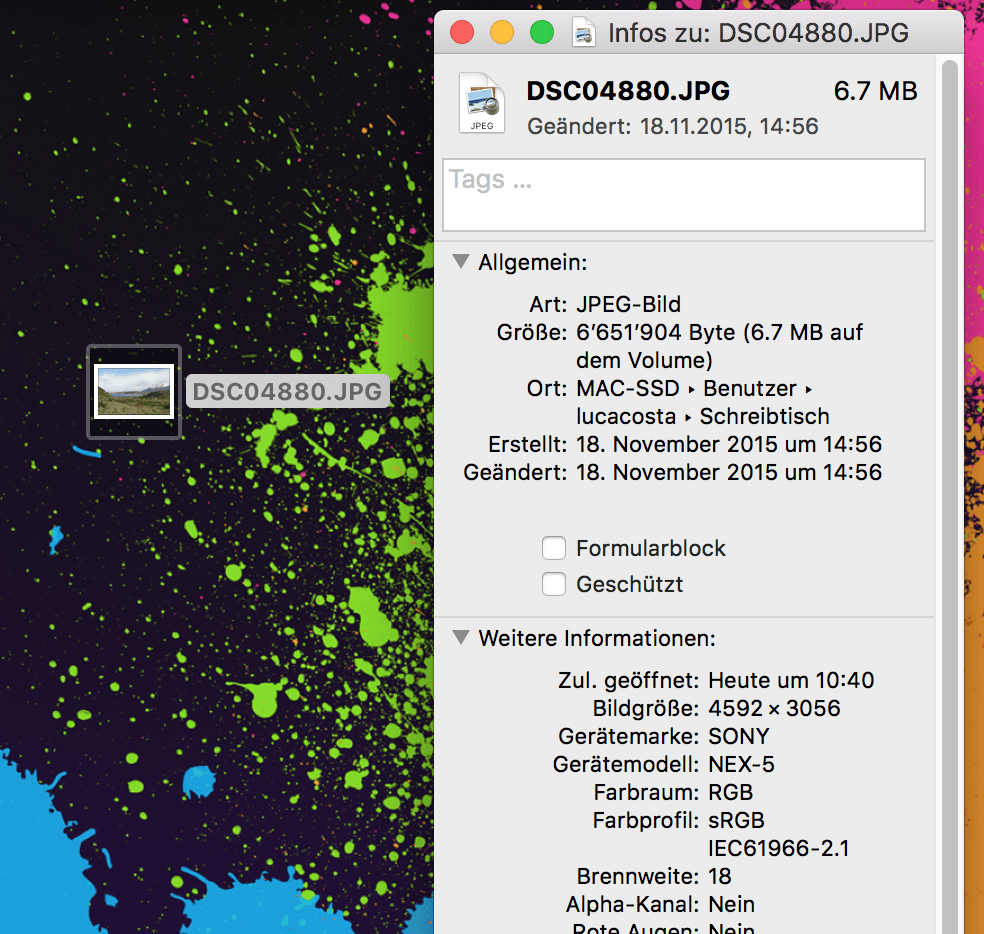
I have an image with the size of 4592 x 3056 px. It takes 6.7 MB of disk space:
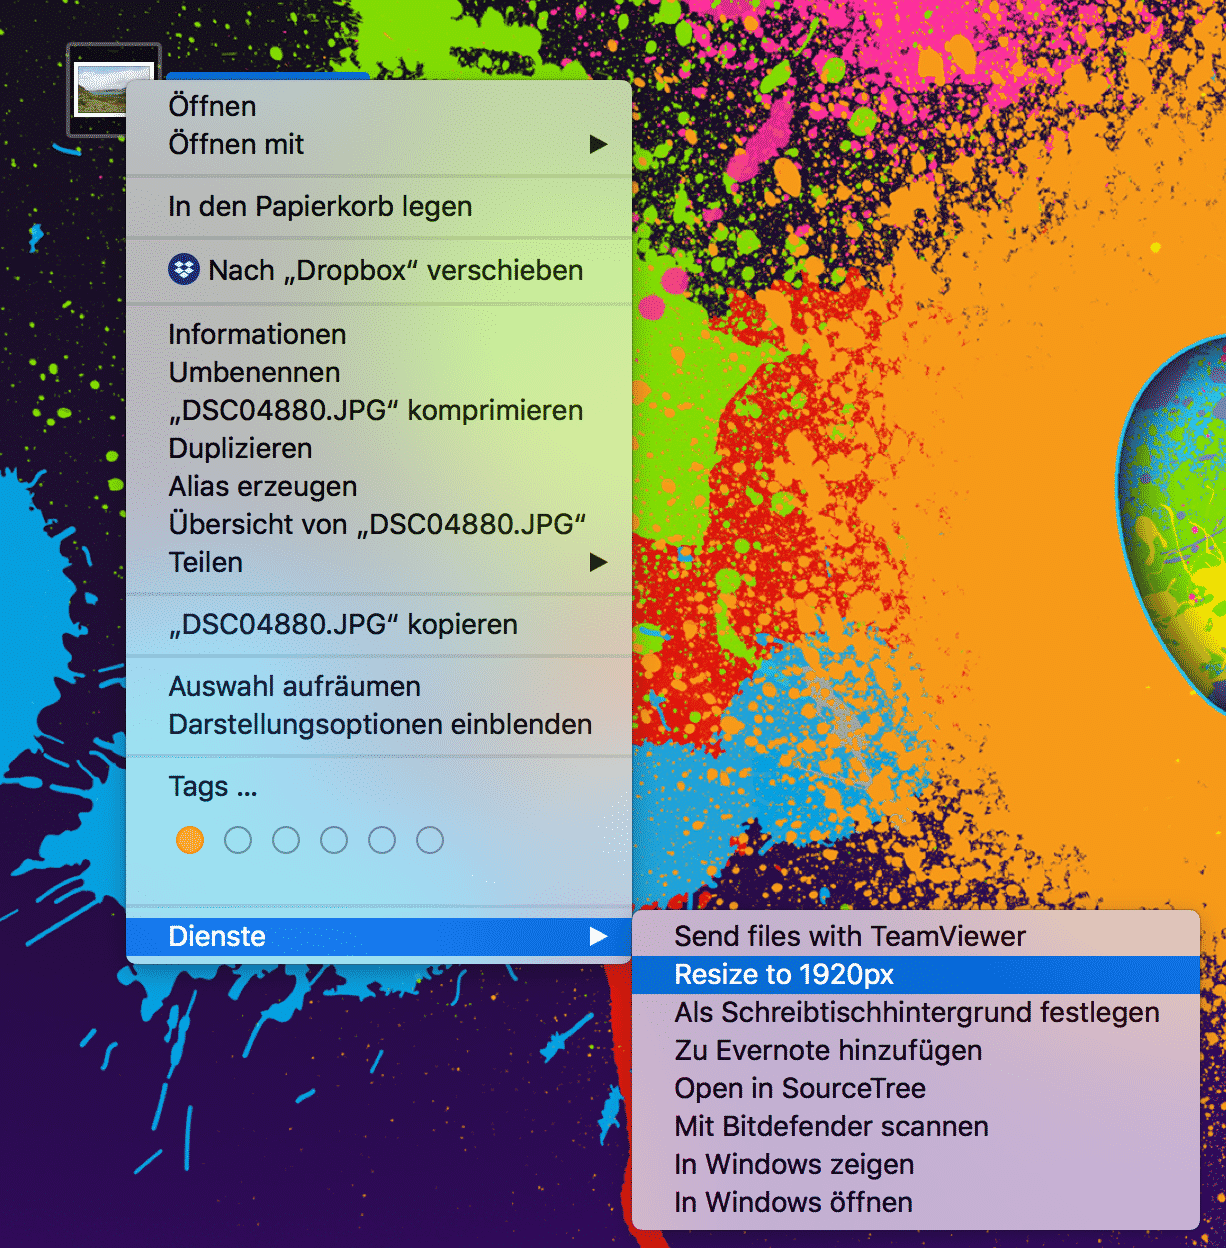
Now I right click it, select “Services” and “Resize to 1920px“. This is the previously created automation service:
Automator resize it automatically in the background. You only see quickly this icon in the menu bar:

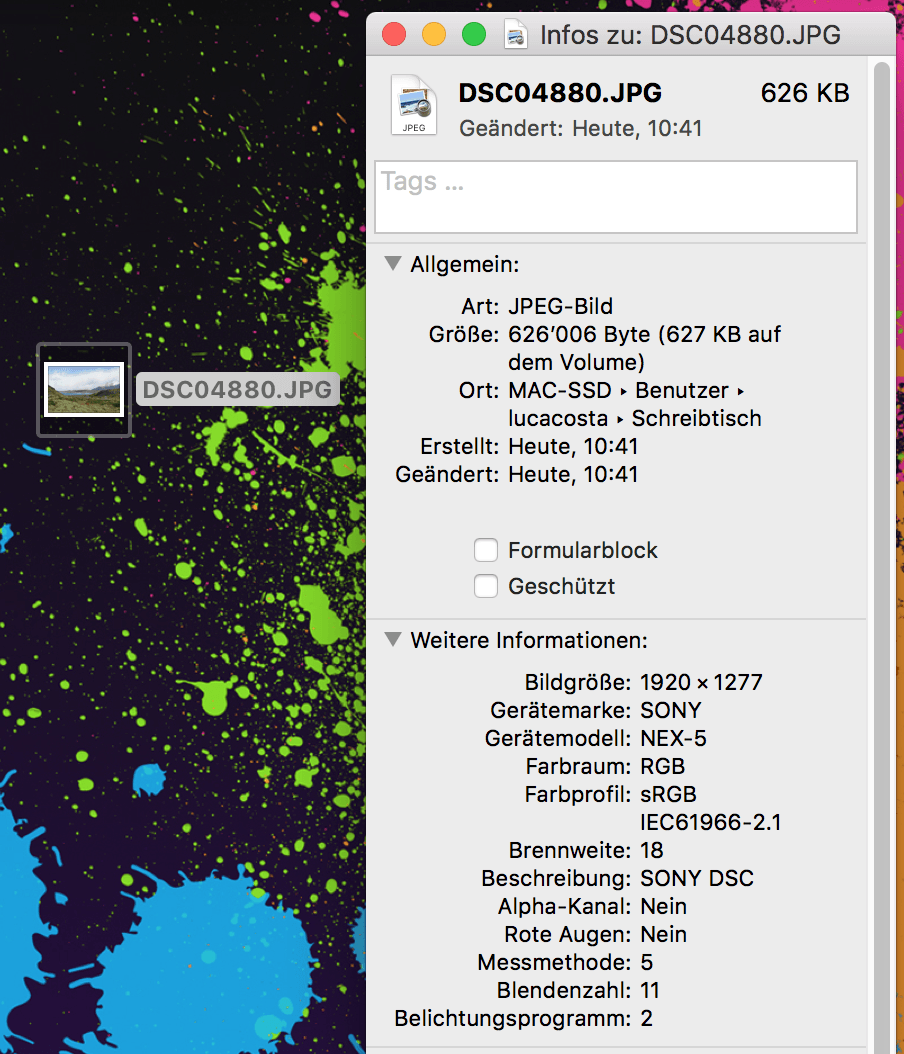
The result is a picture with the size of 1920 x 1277 px and only 626 KB of disk space:
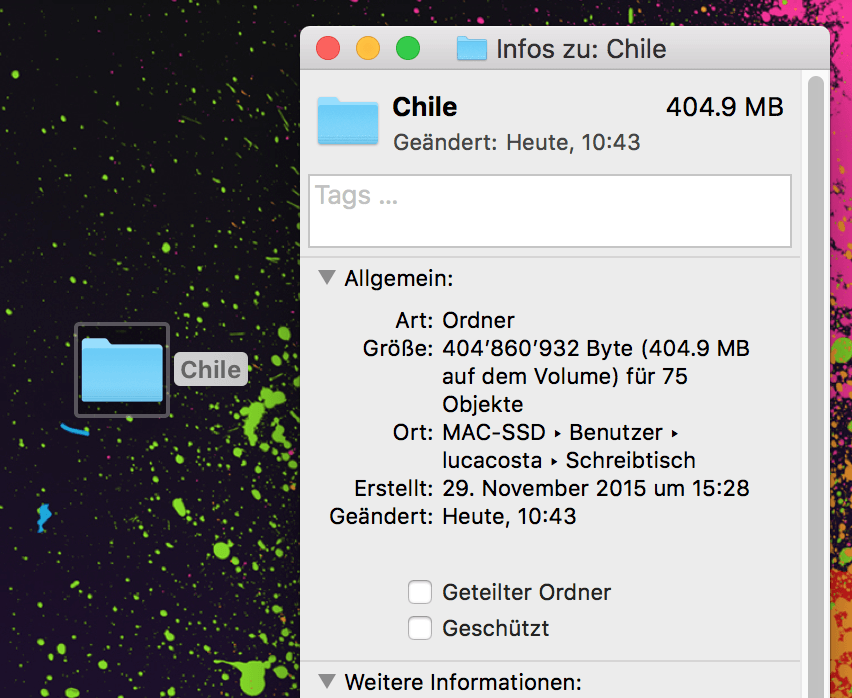
The same can be done also for many pictures. I have a folder containing 75 pictures. The size is 404.9 MB:
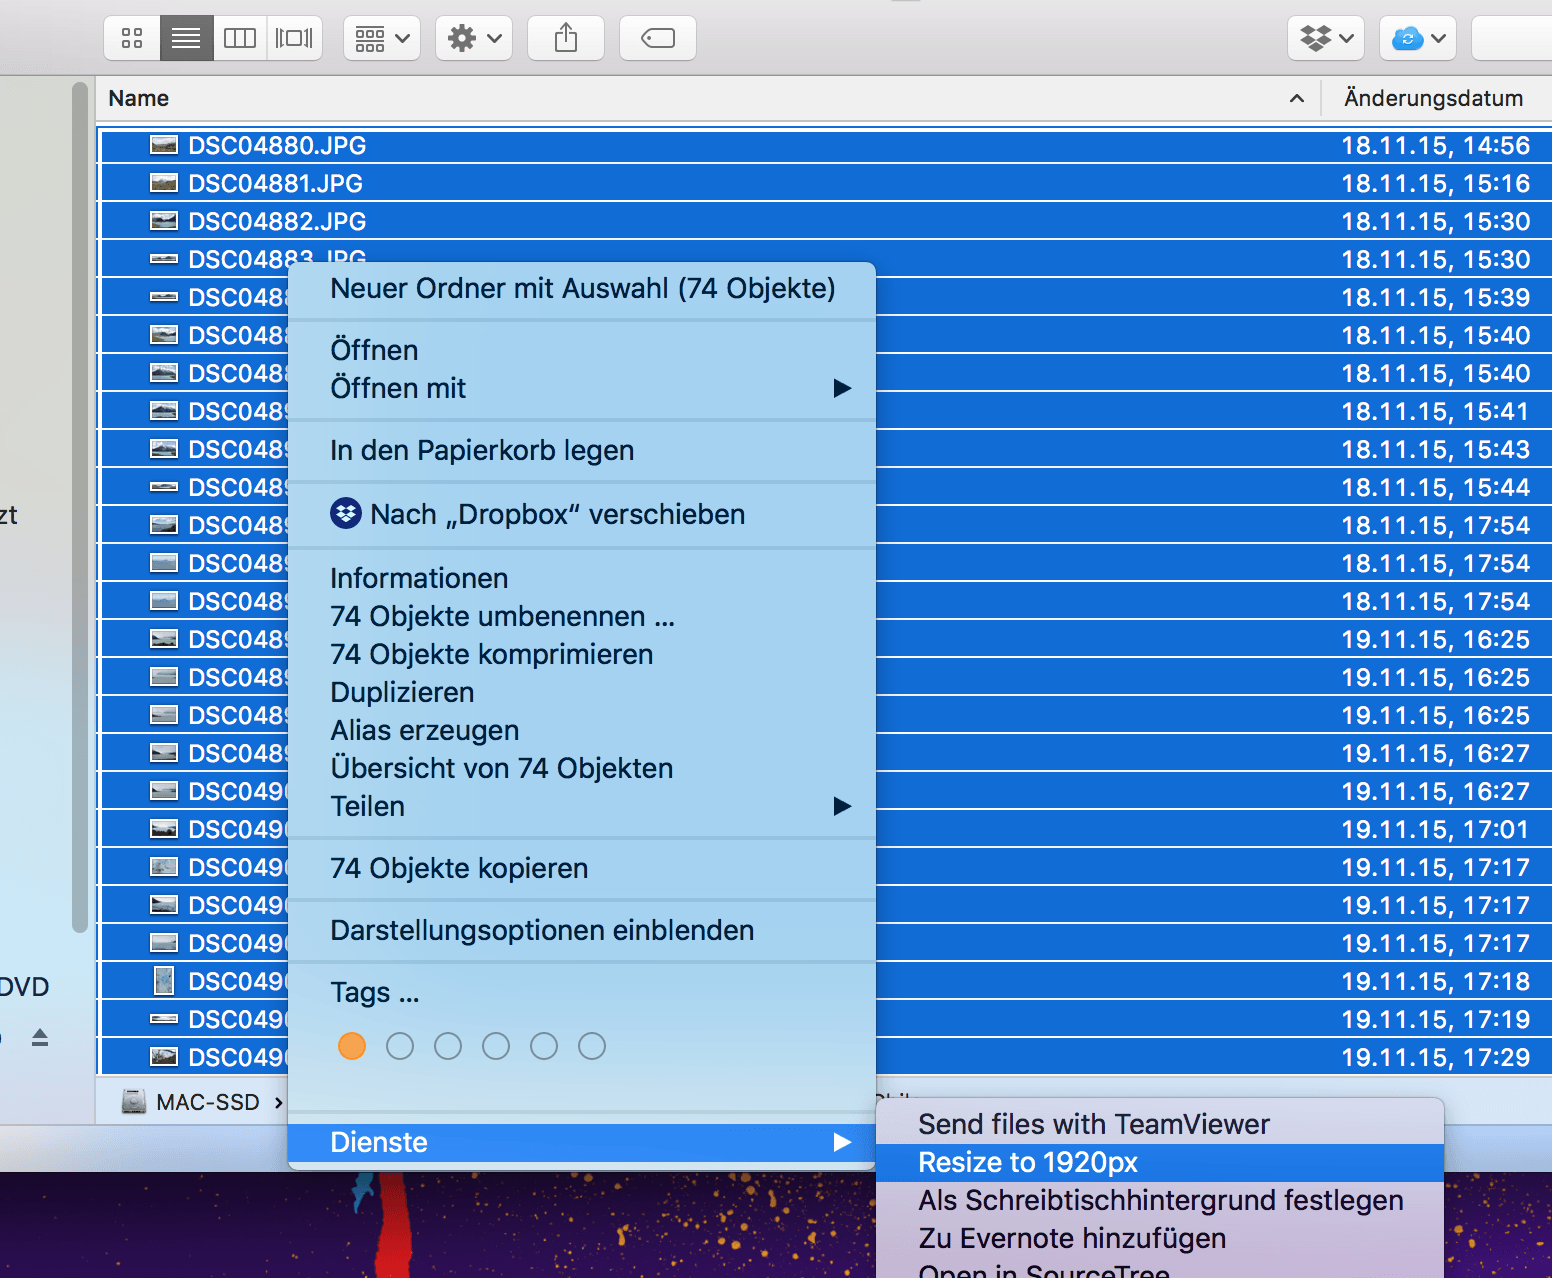
Open the folder, select all pictures (cmd + a), right-click, go to “Services” and “Resize to 1920px“:
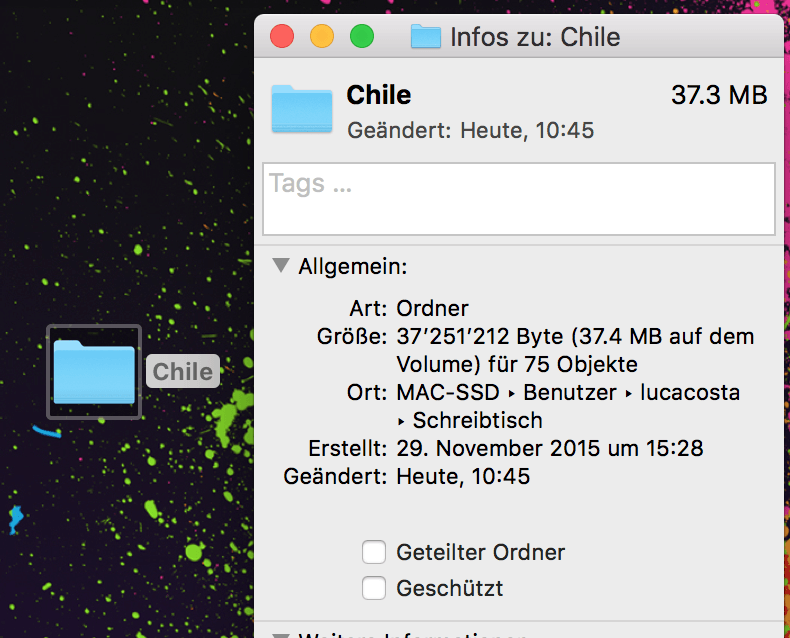
It takes about 20 seconds to resize all pictures (75). Here is the result (90% less disk space consumption!):
Congratulations! Now you should be able to resize your images 🙂
